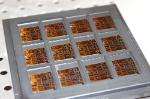
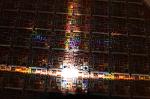
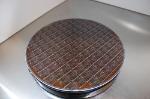
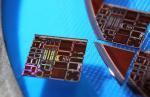
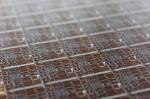
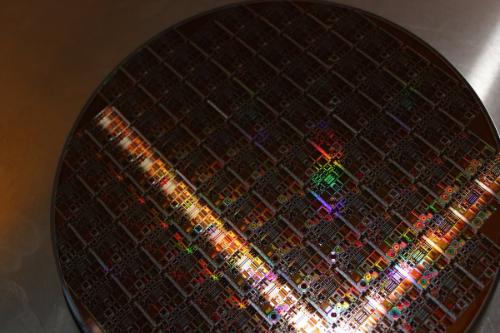
Photographs courtesy of Tim Constandinou, Imperial College London.
CANDO Wafer
CANDO Wafer 2
CANDO Wafer 3
CANDO Wafer 4
CANDO Wafer 5
CANDO Wafer 6